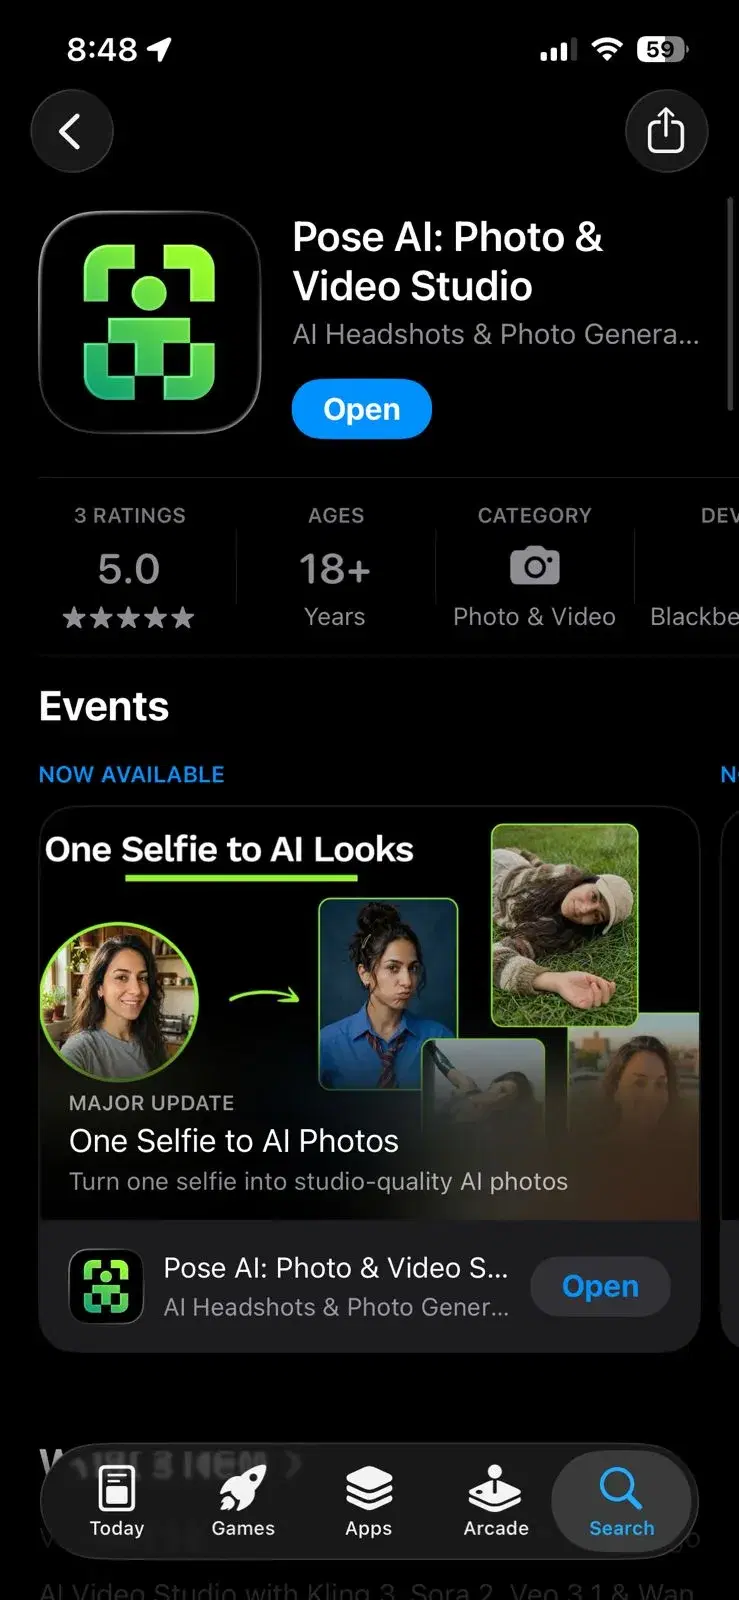
- Download Pose AI (or a similar AI couple photo app).
- Upload one clear selfie of each partner — two photos total.
- Pick a couple template (beach, wedding, travel, 50+ options).
- Wait about 2 minutes, then download or share the result.
- Best results come from well-lit, front-facing selfies where both faces are visible. The step-by-step tutorial and tips section are below.
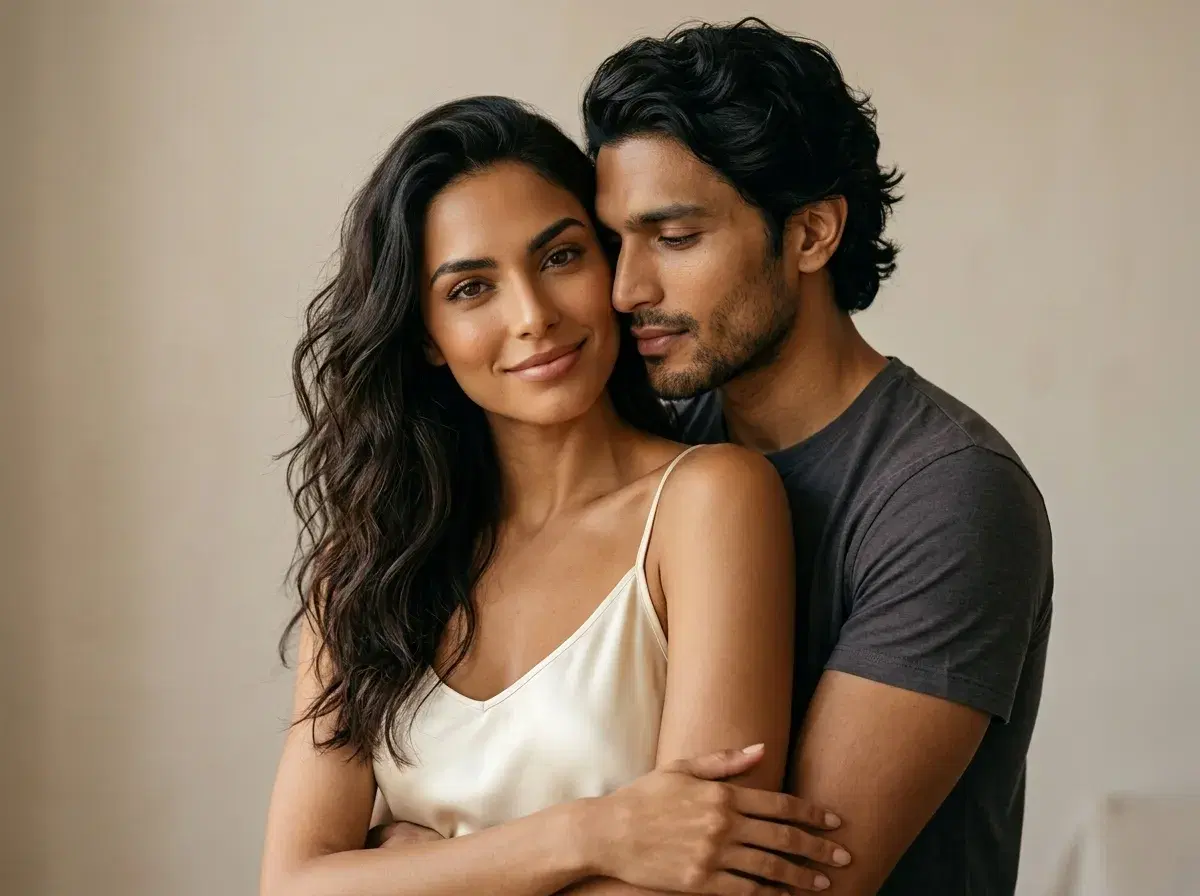
This is a complete walkthrough of how to generate AI couple photos in 2026 — from your first selfie upload to a downloadable joint portrait you can post or print. Couples use these tools for travel photos they never took, wedding or engagement previews before a real shoot, anniversary gifts, and long-distance photo-sharing when you cannot be in the same room. The underlying technology changed meaningfully through 2025 and early 2026: identity-preserving face-matching models replaced the older face-swap pipelines, which means two separate selfies can now be merged into a shared scene while keeping both partners looking like themselves.
In this guide you will find the exact eight-step process with a screenshot for each stage, a comparison between the single-photo and two-photo workflows, a table contrasting AI generation with traditional Photoshop editing, and a tips section for getting photorealistic output on the first try. You will have your first couple photo in under 10 minutes, including download time. Last updated: April 2026.
What you will need
You do not need a pro camera or a photo editor. The full checklist:
A phone running iOS 15+ or Android 10+. One to five clear selfies of each partner — front-facing, good lighting, no sunglasses or heavy filters. The Pose AI app installed from the App Store or Google Play. About 10 minutes and a Pose AI account. Generating couple photos requires a paid subscription, which starts with a discounted first week. Everything else in this guide happens inside the app.
How to generate AI couple photos: step-by-step
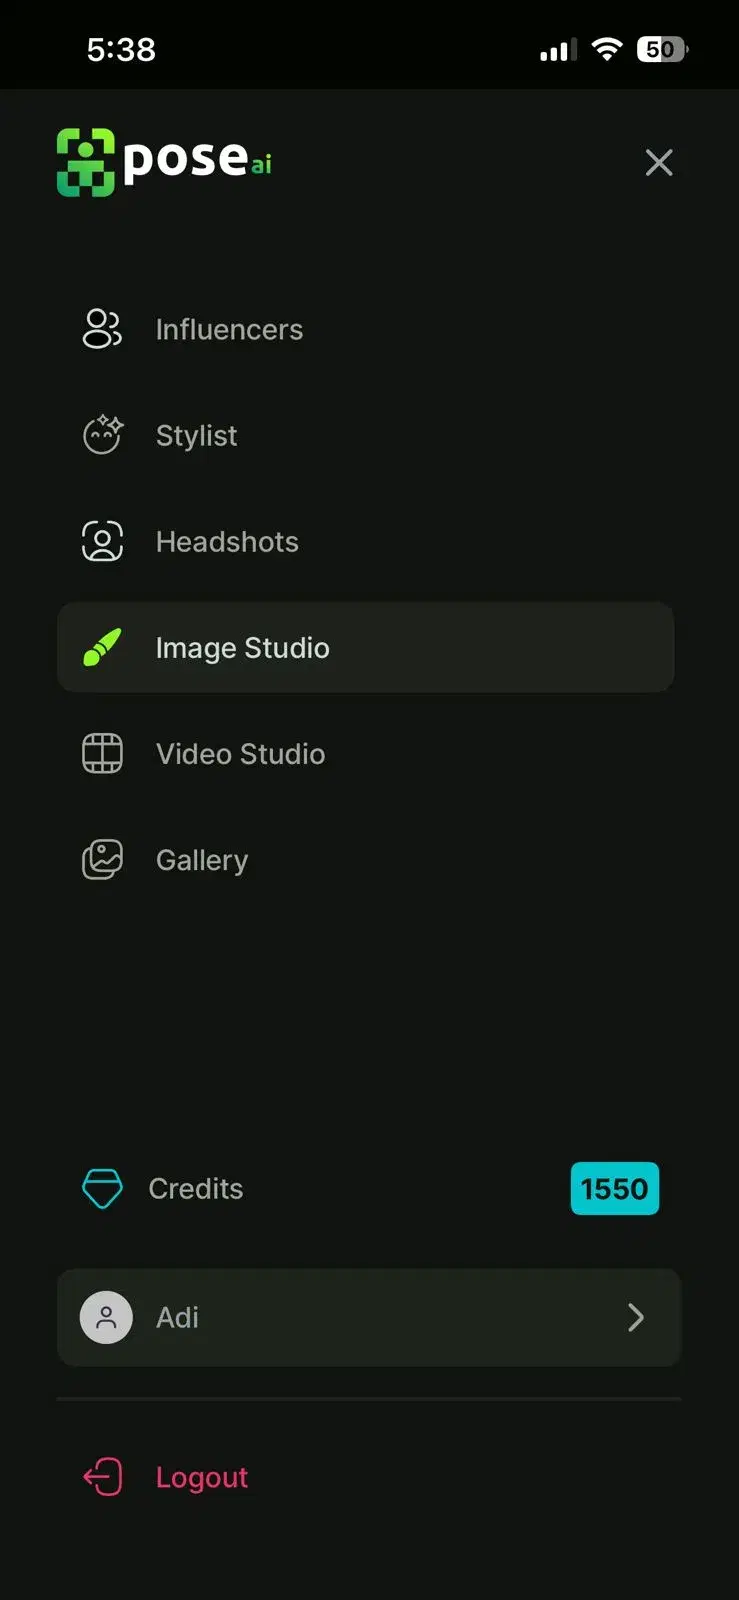
- 1Download and open Pose AIInstall Pose AI from the App Store or Google Play and open the app. The icon is a black square with a small neon-green pose mark. On first launch you can sign in with Apple, Google, or email — there is no separate sign-up flow. Generating couple photos requires a subscription, which starts with a discounted first week. Give the app camera-roll permission when prompted so it can read your selfies.
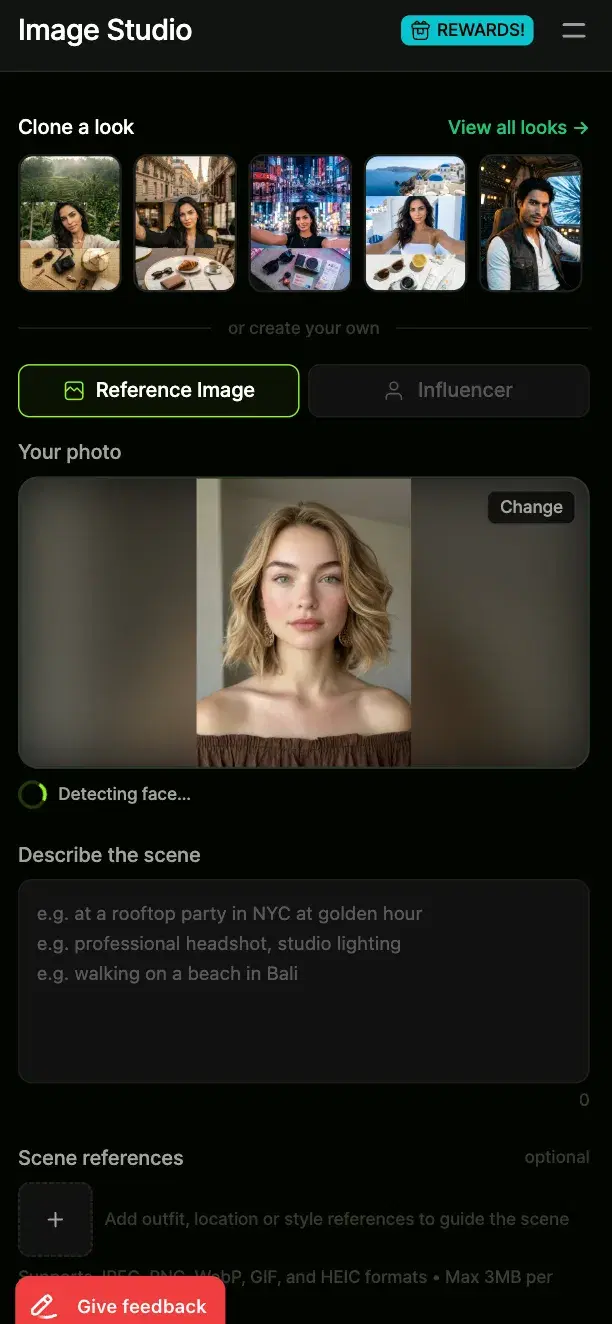
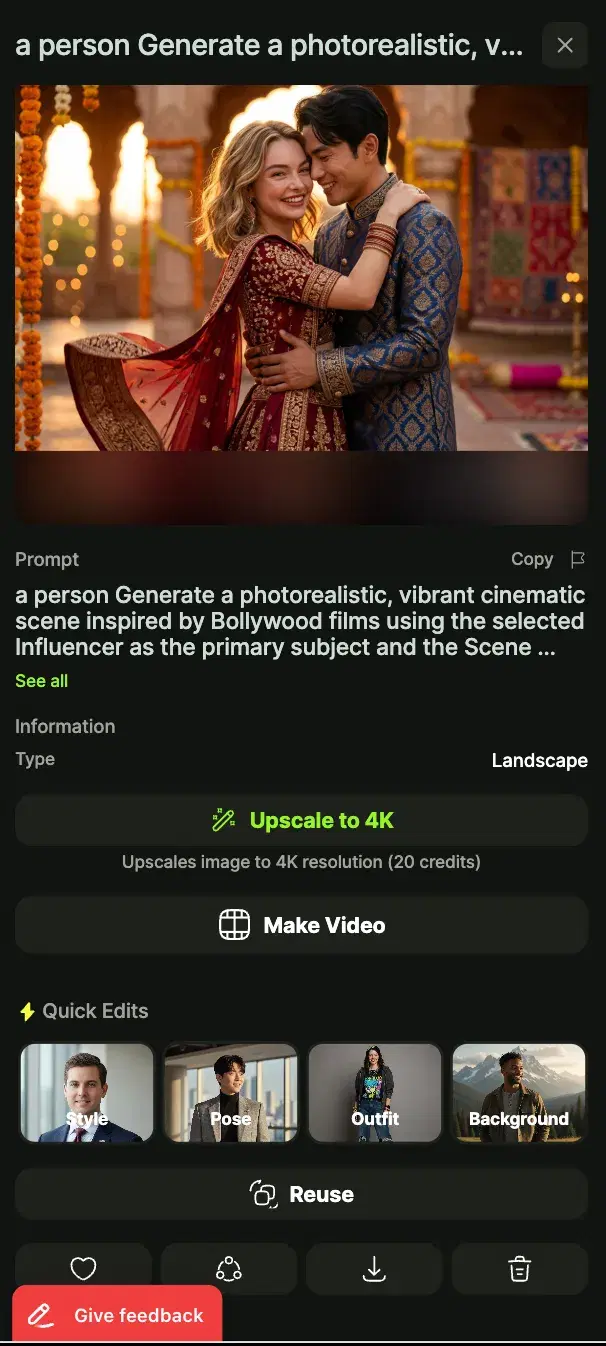
- 2Tap Couple Photos on the home screenOn the home screen you will see a horizontal carousel of packs — solo portraits, headshots, travel, seasonal. Scroll until you see the Couple Photos tab and tap it. This tab is separate from solo portraits because the model behind it is trained specifically for paired subjects. Pose AI currently ships more than fifty couple templates grouped by mood: romantic, wedding, travel, vintage, casual, holiday.
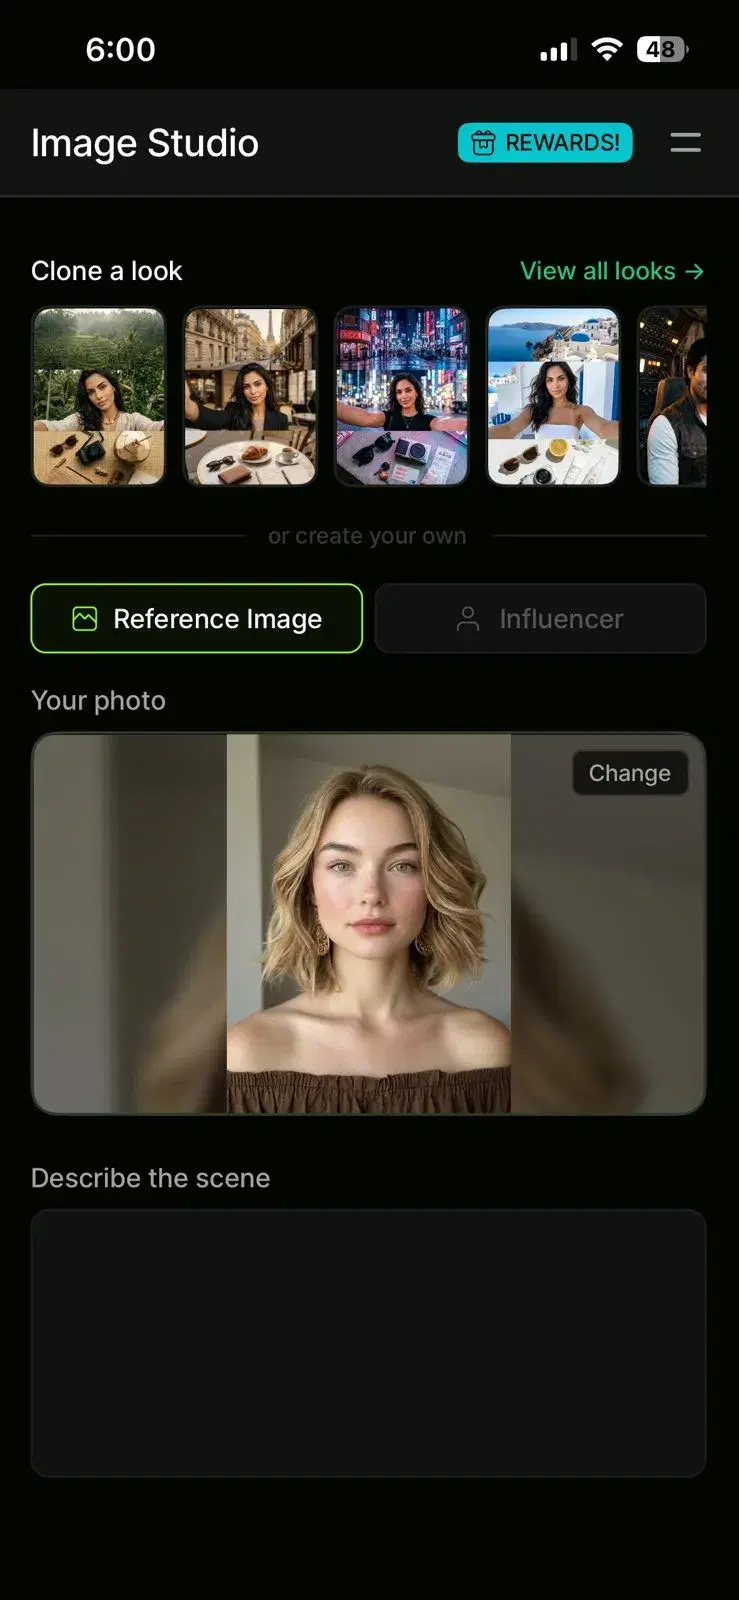
- 3Upload your first partner's selfiesTap Upload Partner One and pick one to five selfies of the first person from your camera roll. One photo is the minimum; three to five gives the model more angles to lock identity. The upload screen shows square thumbnails of each selected photo and auto-detects the face in every image, cropping in on it. If a face is not detected in a photo, you will see a red badge — swap that photo for a cleaner one before continuing.
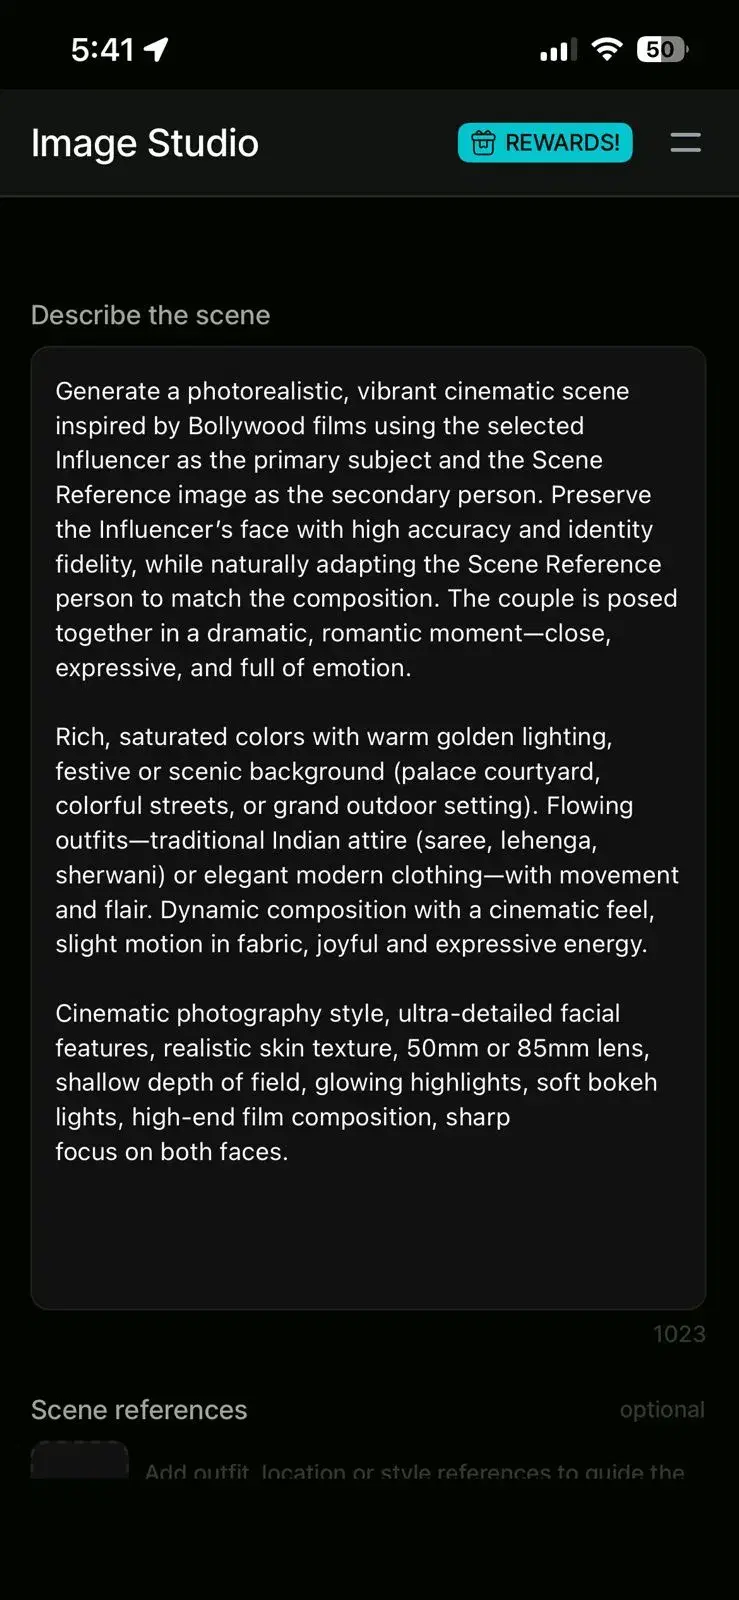
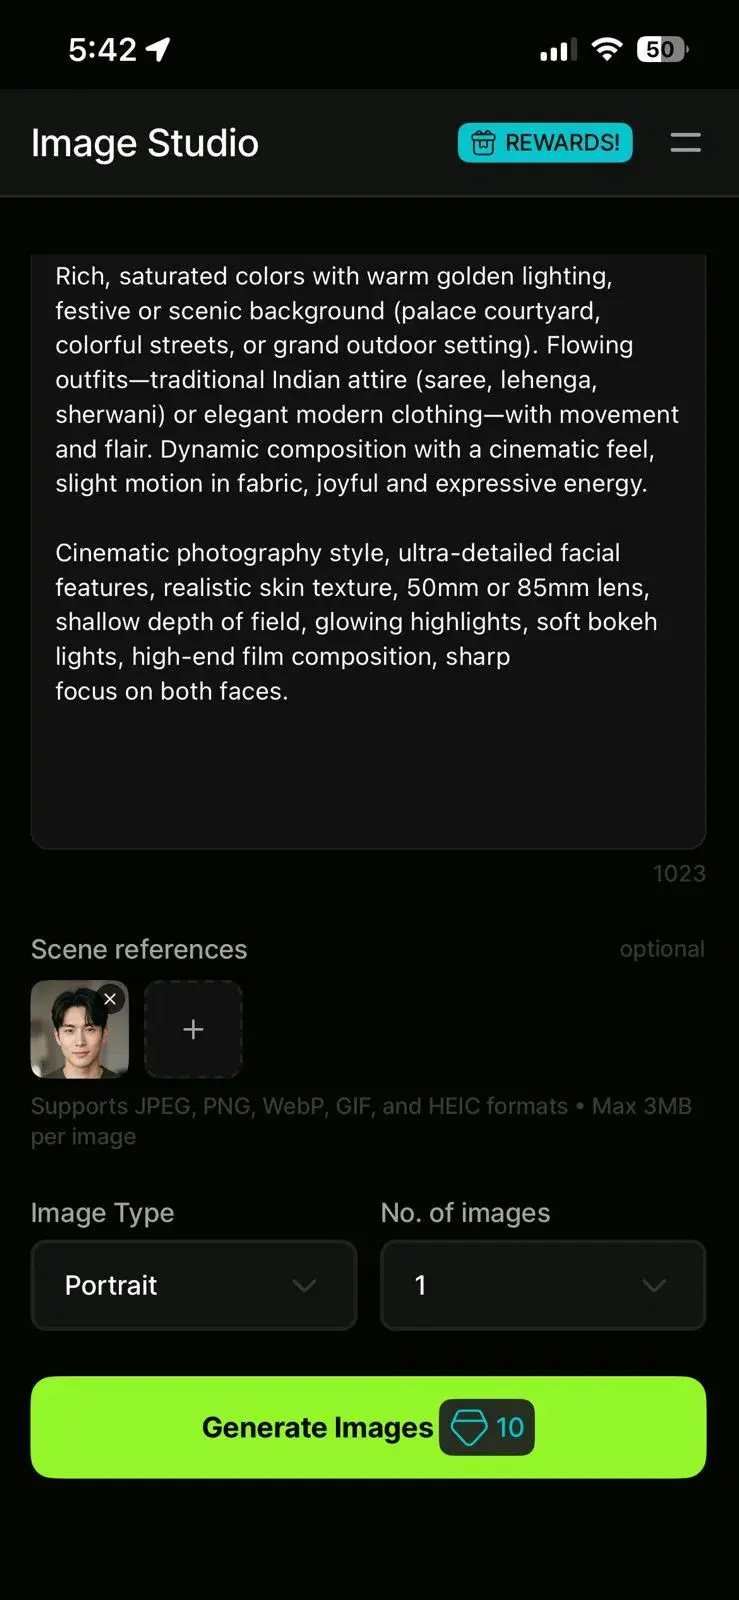
- 4Describe the SceneYou describe the couple scene you want in your own words. Type a prompt like 'romantic beach sunset,' 'Paris street at night,' or 'elegant wedding portrait.' The AI interprets your description and generates a custom scene around it. Be specific about mood, location, and lighting for best results. You can regenerate with a different prompt if the first attempt doesn't match your vision.
- 5Upload your second partner's selfiesTap Upload Partner Two and repeat the process for the second person. Use separate individual selfies of this partner, not group photos — if a photo contains more than one person, the model will pick the wrong face about half the time. This is the screenshot that anchors the two-photo workflow: one selfie per partner, uploaded separately, so the model can build a clean identity embedding for each of you.
- 6Confirm face assignmentBefore generation starts, Pose AI asks which partner should appear on the left and which on the right. This is where most first-time users make a mistake and swap the two faces — double-check the thumbnails before tapping Confirm. The face-assignment screen is also where you can redo an upload if you realise one selfie was blurry. Once you confirm, the job is locked in and you cannot edit it mid-run.
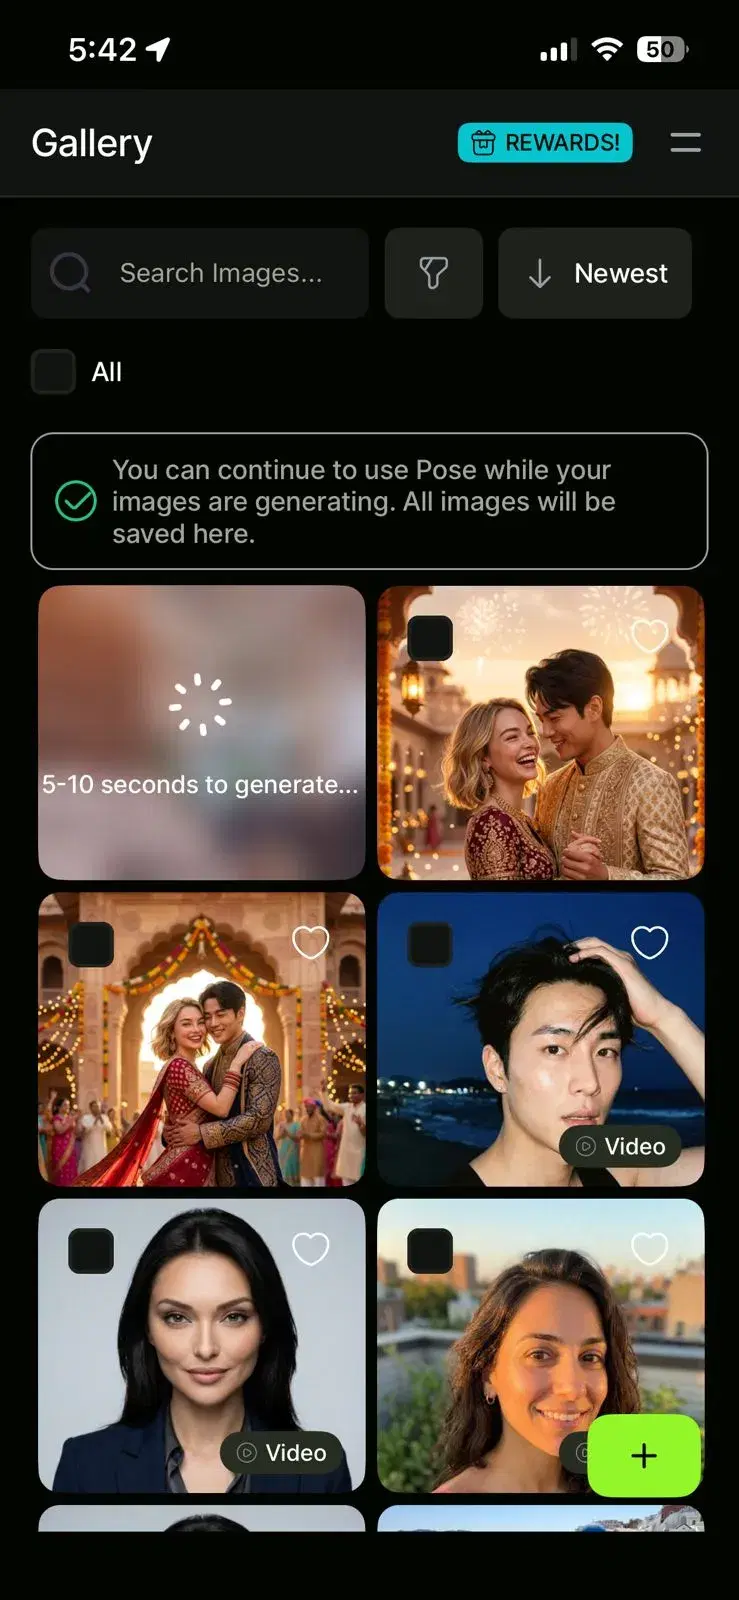
- 7Wait for generation (about 2 minutes)A progress screen shows a three-stage indicator: face embedding, scene generation, and refinement. Face embedding reads both uploads and builds a private identity vector for each person. Scene generation renders the template with both subjects placed in it. Refinement sharpens faces, hands, and background. The whole job takes about two minutes on average, longer for complex wedding or crowd scenes. You can enable push notifications and leave the app — the notification fires when the photo is ready.
- 8Review, regenerate, or downloadWhen the photo is ready, the preview screen shows the result at full resolution with two buttons underneath: Regenerate and Download. Regenerate runs the job again with a new seed and costs one credit; roughly one in ten results benefits from a second attempt to clean up small hand or background artifacts. Download saves the image to your camera roll at full resolution. From the same screen you can share to Instagram, send to your partner, or post straight to a story. If you are stuck at any step, the full tutorial video below walks through every screen.
Pose AI supports two workflows, and the one you pick changes the kind of photo you end up with. The single-photo workflow takes an existing joint photo of the two of you and restyles it into a new aesthetic — cinematic, vintage, editorial — without inventing a new scene. The two-photo workflow takes one individual selfie from each partner and builds a brand-new shared scene from scratch. Most couples want the second one, because it is the only way to produce a photo of the two of you somewhere you have never actually been together. The table below lines up the trade-offs side by side so you can pick in under a minute.
Single photo vs. two photos: which workflow should you use?
| Single-photo workflow | Two-photo workflow (recommended) | |
|---|---|---|
| Photos needed | 1 photo that already contains both partners | 1+ photo of each partner separately |
| Use case | You have an existing couple photo you want to restyle | You want a brand-new scene neither of you has been in |
| Realism | High — the model already has both faces | High — face-matching is designed for this |
| Flexibility | Limited — hard to swap scenes convincingly | Full 50+ templates available |
| Best for | Restyling a favorite photo into a new aesthetic | Travel photos, wedding previews, anniversary gifts |
| Time | About 2 minutes | About 2 minutes |
Pick the two-photo workflow for almost every use case. It unlocks the full 50+ template library and produces the most consistent likeness, because the face-matching model was trained on paired inputs. The single-photo workflow is a narrower feature aimed at couples who want to restyle an existing joint photo into a different aesthetic — for example, turning a casual snapshot into a cinematic portrait — without reshooting or re-uploading. If you are generating a brand-new scene neither of you has been in, always use two photos.
There are two ways to end up with a photo of you and your partner in a scene that does not physically exist: generate it with an AI couple photo app, or composite it by hand in Photoshop. Both approaches can produce a convincing final image. The difference is time, skill, and cost. An AI generator builds the scene in about two minutes from two uploaded selfies, no editing experience required. Traditional photo editing asks you to mask each subject, match skin tone and lighting against a new background plate, fix the edges, and retouch the blend — work that takes hours per image and years to do well. The table below lines up the practical differences that matter when you are deciding between the two for a personal project rather than a commercial shoot.
AI couple photo generators vs. traditional photo editing
| AI couple photo generator | Traditional photo editing (Photoshop etc.) | |
|---|---|---|
| Time | About 2 minutes | 2–6 hours per image |
| Skill needed | None | Advanced — masks, compositing, color matching |
| Cost | Free to about $10/week | $20–$50/mo plus a long learning curve |
| Output realism | Photorealistic, consistent faces | Depends entirely on editor skill |
| Can invent new scenes | Yes — 50+ templates | Yes, but each scene is manual work |
| Preserves identity | Yes — face-matching model | Yes, but requires manual face work |
| Best for | Casual users, couples, travel photos | Pros, commercial retouching, hero campaigns |
For casual couples, anniversaries, travel posts, and gift-worthy portraits, AI couple photo generators have replaced the DIY Photoshop workflow for roughly nine out of ten use cases. The speed gap is the main reason: two minutes versus an afternoon. Professionals still prefer manual editing for commercial hero images, where every hand, shadow, and highlight has to be defensible under close inspection — but that work is paid hourly, not done by a couple on a Sunday. If you are deciding between the two for a personal project, the AI workflow is the right default and you can always hand the result to a retoucher for a final polish if the stakes are high.