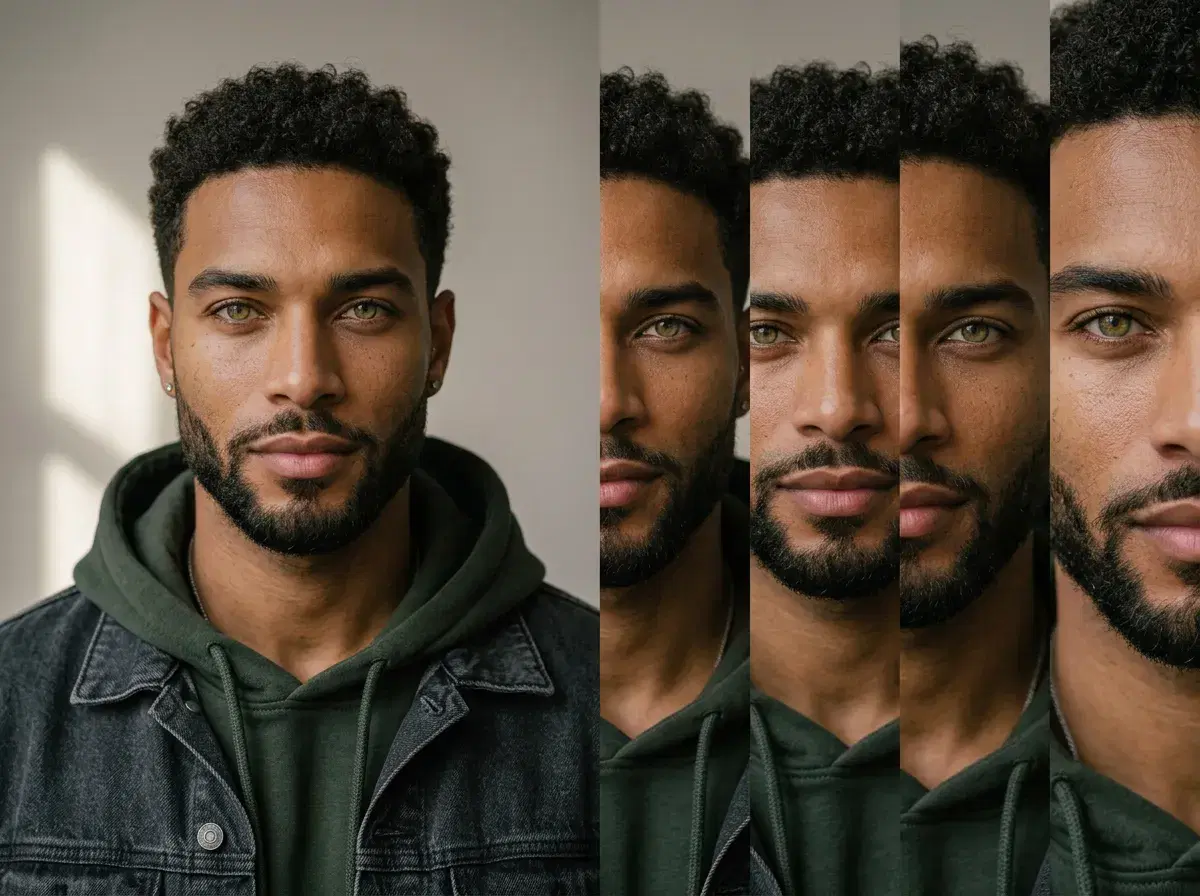
Generating AI video from a single image takes four steps in Pose: upload the photo, pick a motion engine, set how the camera and subject should move, and generate. This tutorial walks through each one and covers the practical details people usually hit first — accepted file formats, output resolution, and what the camera motion controls actually do.
Follow along in the Pose AI Video Studio.
- To generate AI video from a single image in Pose: upload your photo, choose Kling, Veo, or Sora 2, adjust the motion, and generate — all natively, with no export to an outside tool.
- Upload: one image is enough — Pose is identity-locked, so a person in the source photo stays recognizable.
- Choose an engine: Kling for controlled camera moves, Veo for photorealistic scenes, Sora 2 for longer sequences.
- Set motion: describe the movement you want, or supply a reference for the subject's motion.
- Generate and export: clips download ready to post, with no watermarks, on 400 credits every week from $4.99.
Step 1: Upload your image
Open the Video Studio and upload the photo you want to animate. One image is all it takes — there's no batch to assemble and no training step to wait through, because generation is identity-locked with Nano Banana 2. A clean, well-lit source helps: the model uses your image as the first frame, so a sharp subject and an uncluttered background give the motion engine more to work with than a blurry or heavily filtered shot.
Step 2: Choose Kling, Veo, or Sora 2
Pick the engine that matches the shot you're after. Kling is the pick when you want a controlled camera move — a push in, an orbit, a slow pull back. Veo renders photorealistic scene motion, which suits lifestyle and product stills where the world around the subject should feel alive. Sora 2 handles longer sequences when a short loop isn't enough. SeedDance and Wan round out the set for body motion and fast iteration. All six are native, so switching engines between takes costs you nothing but credits from the same weekly pool.
Step 3: Adjust the motion
This is where most of the quality lives. Describe the movement you want in plain language — the direction of the camera, the pace, whether the subject moves or stays put while the frame does. Motion Control lets you steer that rather than accept whatever the model guesses. If you have a specific movement in mind for the subject, you can supply a reference for it instead of describing it. Keep the instruction focused: one clear camera move usually reads better than three competing ones crammed into a few seconds.
Step 4: Generate and export
Generate, review, and iterate. Because every engine draws from the same 400 weekly credits, you can try a couple of variations rather than committing to a single expensive render. When a take works, download it — output is clean, with no watermarks on any plan. From there it goes straight to your feed, your ad manager, or your editor.
For a broader comparison of tools, see the photo to video AI generator guide.